While blogging and publishing a blog post, we very often include some photos in the post. This is because the photos, as it is validly said that a picture is worth a thousand words, provide a clear idea which might not be possible to be conveyed otherwise. Further, we very often need to add any link to the image so that we would be able to refer to a detailed post which will have some link with that photo. Many of bloggers, while they are very familiar with adding links to text, do not know how to connect a photo with any post by adding link of the post to the photo. And a great number of bloggers, perhaps, are unaware of the very possibility of doing so.
In the following we are going to show you how to add a link to a photo/image in blogger. We have also posted to show how to place multiple photos side by side in a blog post.
Step 1: Upload the photo in blogger. You may adopt any size –from small to extra large and original size– according to you need.
Step 2: Go to the HTML mode of the post
Step 3: You will find two URLs in a single HTML code of the image. The only difference in these two URL is the number /s1600 and the other number. In the first URL, you will find the number always to be /s1600 while in the second URL the number will be different.
Step 4: Copy the link you want to add and paste it in the place of the first URL which is always with /s1600 by the link you want to add to the image in blog post.
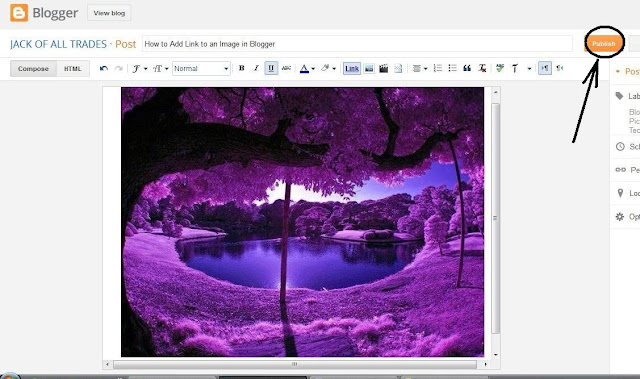
Step 5: Now, go to compose mode. You will so no difference but the link will have been added to the image. Just click the “Publish” button and get your link added to the image.


No comments:
Post a Comment