Blogging, for more than one reason, has become one of the most popular modes of spending time before the computer screens. This, on the one hand, helps a person share his ideas with the people across the globe as he can post whatever he wants to without fear of censor and above all he does not need to have approval of any editorial board to get his stuff published and, on the other hand, has become a source by which one can earn a handsome amount of money working at his home and without facing the horrible attitudes of bosses in the offices. There are multiple places for
blogging among which
blogger is the most popular platform as this is almost a website which a person designs by his own without the burden of thoughts about the charges of online space. There are many things which can be done in
blogger which are not known to every person using this platform. One such thing is to put two images side by side of the
blog post. This is because putting multiple
pictures side by side needs some exercise in the
HTML code which –though quite simple– seems hard to many bloggers. In the following I am going to tell you how to do that. In order to do that you will have to follow the following steps.
Step 1: First of all you will have to upload all the
pictures you want to post in the
blog post. The
pictures should be uploaded on the order in which they are intended to be shown in the post. And reduced to size of pictures to “small size”. Not to worry, you can later increase the size after you are done with all the steps.
Step 2: Secondly go to the HTML Mode of the post.
Step 3: At the thirds place, Paste the following code before the
HTML code of the
photo. Remember, this code works for three
pictures. You can delete and/or add more lines according to the number of
photos.
<div
style="display: inline-block; margin-bottom: 2em; margin-right: 2em;
width: NN;">
IMAGE CODE FOR PICTURE</div>
<div style="display: inline-block; margin-bottom:
2em; margin-right: 2em; width: NN;">
IMAGE CODE FOR PICTURE</div>
<div style="display: inline-block; margin-bottom:
2em; margin-right: 0em; width: NN;">
IMAGE CODE FOR PICTURE</div>
Step 4: Afterwards, find out the text
height = "150" in the HTML code and delete it. (Remember the height may different from
“150” in your photos.)
Step 5: Now find the
width = "200" in the HTML of the photo and replace
“200” with “100%. This change in HTML will make the code look
"width = "100%".
Step 6: Finally cut the HTML code and paste in place of
IMAGE CODE FOR PICTURE.
Step 7: Go to the compose mode of the post. You will see the
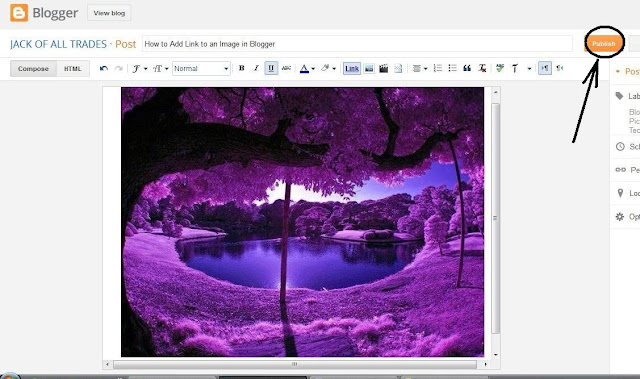
pictures side by side if all the steps have been followed correctly. And hit the “publish button” and have a beautiful
blog post published.


